Showing posts with label Dessert Dishes. Show all posts

Sunday, February 15, 2009

Update on life

Well, here I am again, being lazy and not updating like I should. Not a whole lot has happened since I last wrote, but a few interesting things have happened, I guess!

1. I got my hair cut! I love it, it is SO easy and light and fluffy! I used to dye my hair constantly (obsessively) and it was really really dead & dry on the ends, so that's the main reason I cut it. Dying my hair used to be a stress reliever and a way to keep from being "boring". hah. It's officially all my natural non dyed hair now! Yay! Then I decided I haven't really had anything above the 2 inches below the shoulder type cut since 8th grade! So it's a nice change. I got some side bangs too which hide my forehead better than when I swoop my hair over by myself. And the hairstylist literally costs exactly half of the one I went to in Wheaton! Yay for the cheap South...haha.

Before:


After:



2. We're moving! I hate, hate, hate that this house is so nice and perfect except for the VERY loud club in our back yard...it's bad. It has apparently changed ownerships, it was bad before. But it seems to have gotten even worse! It is loud until 1am. Our windows shake sometimes, and the low bass that often REALLY gets to me. Sometimes I just start crying because it gets to my nerves so bad night after night. (so maybe I'm a bit over sensitive to sound??? Poor Madison...) We have heard more explatives from rappers with our doors & windows shut and we're just sick of it! Well, our lease runs out this summer, and our friends from law school knew of a house for $75.00 less than this house per month. It's quiet, 5 miles out in the county, and you can paint it, have dogs, and it's just a tiny bit smaller than this place. It has an office & 2 bedrooms, a nice kitchen, washer & dryer, living room, and 2 bathrooms. The master bathroom is BIG! :-) We will have to be more creative with the layout of our furniture, but it will be well worth it! I am so pumped. The back has a fairly large deck and yard, where we will enjoy our grill and "toe roaster". Our next door neighbors will be aquiantences of ours, and it will be SO nice to know they're there for 2 more years as well. They're quiet and will be nice we/they need anything. We probably won't get a dog at least for now, but that doesn't mean I don't want one SO bad! Unfortunately, pets are expensive and right now, our budget doesn't allow for one. Some day! I have already thought of names, colors for the leash & collar, breeds, etc, etc. I need one of those things to keep me company, all those late nights when Madison is still doing his homework! I would love to have a sweet doggie to cuddle up with me while I am on my laptop or watching a movie/tv. Or even reading the occasional book (*gasp!*)

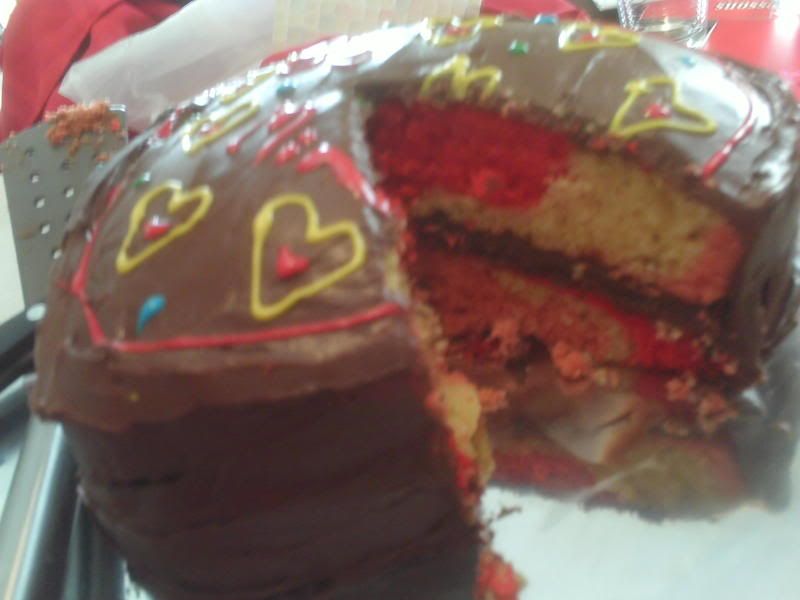
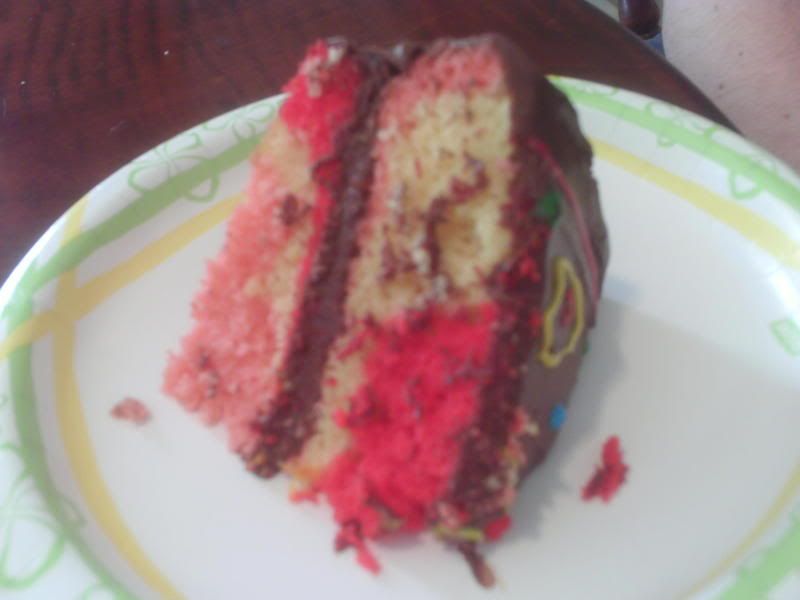
3. We had a nice, low key 1st married valentines' day. Can't believe we've been married for almost 9 months! We decided not to fight the Oxford traffic, plus it's expensive to eat out around here! We usually go for lunch if anything, just because it's cheaper. We were going to, but instead, we just grabbed something to eat here. I made dinner and a cake. I was proud of my cake...I always try to think of a reason to make a cake, because I love being creative with cakes! It all started when I was in Kroger, and they were selling heart shaped throw away cake pans. There were 2 of them in a pack. Then I went online and found this fun diet cake recipe on omnomicon's blog. I'm usually an unbleached flour, natural food when-it's-cheap type girl, so this was kind of a rare occasion for me! :-) Let's just say, Madison was SHOCKED when he cut open that cake! haha!

So here's what I did...

I divided the batter into 3 bowls. I used gel food coloring (better for you than the old stuff - and brighter!) and dripped it into the bowls to make pink, red, and left the yellow cake as is.

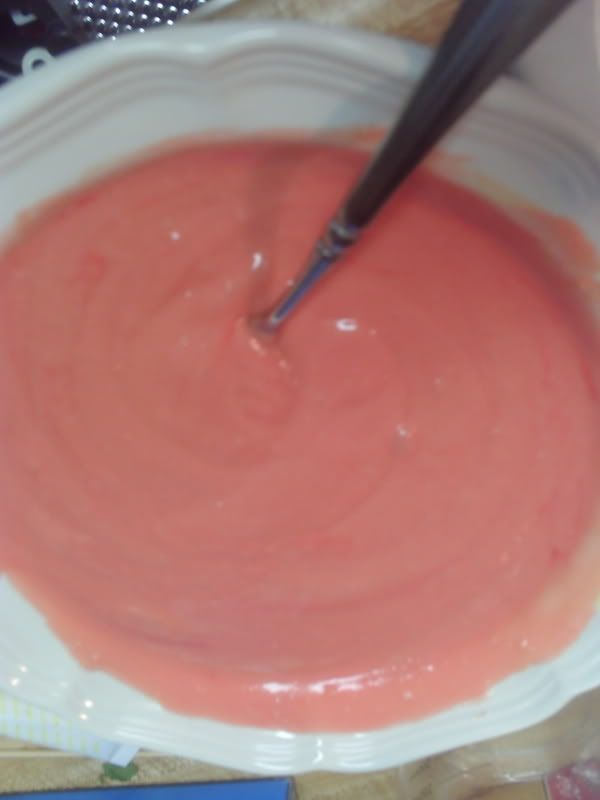


I greased the pans w/ crisco and flour to make it easy to flip them out to decorate.
One cake mix = 2 heart pans. I poured the majority of the red on the bottom of the first one, half of the yellow cake mix on top, and about 1/3 of the pink on the top. Then with the other, I did the opposite. Don't mix the colors, just dump on top of each other.
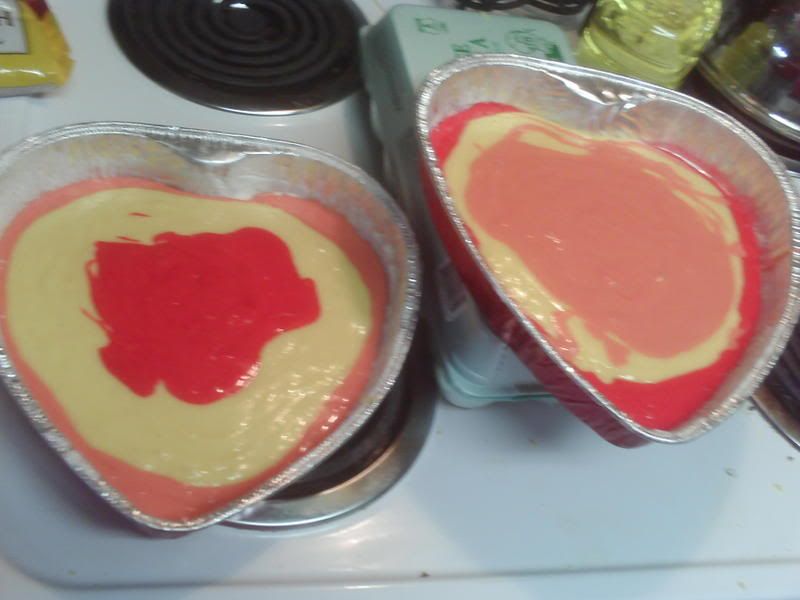


I baked for the normal time on the box directions, they came out just right.
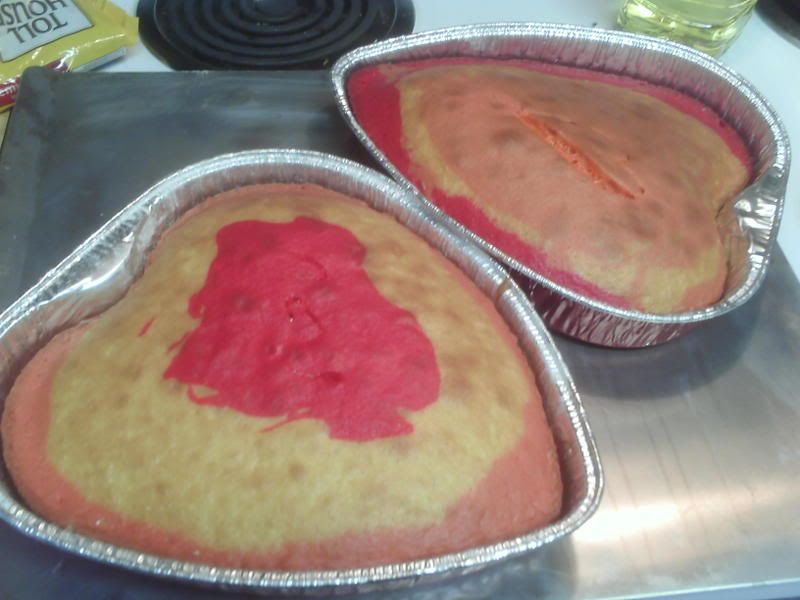


I flipped the first one onto the cake platter and iced it.
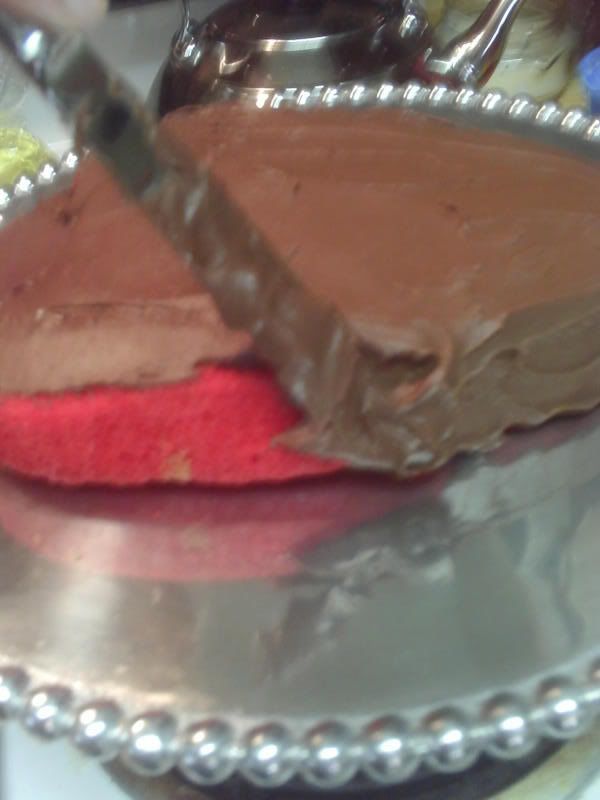


Then I set the second layer & frosted it.
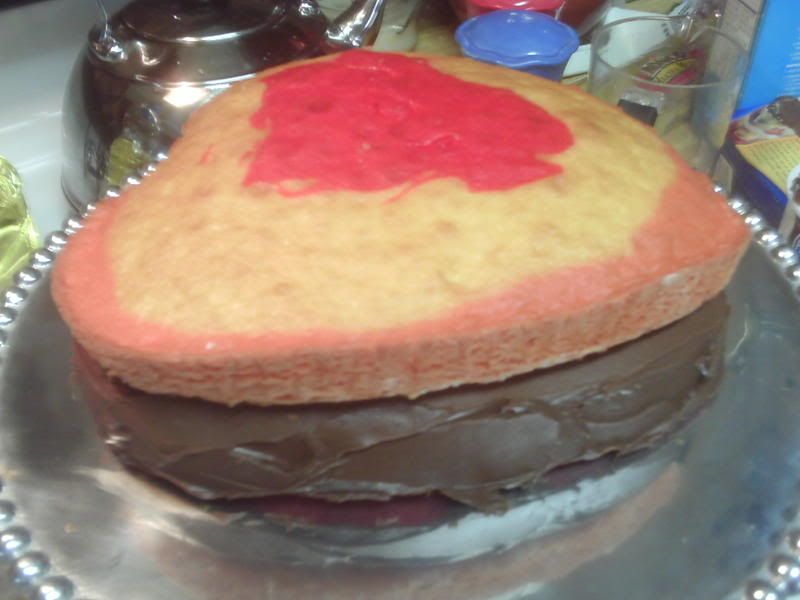


Tada!
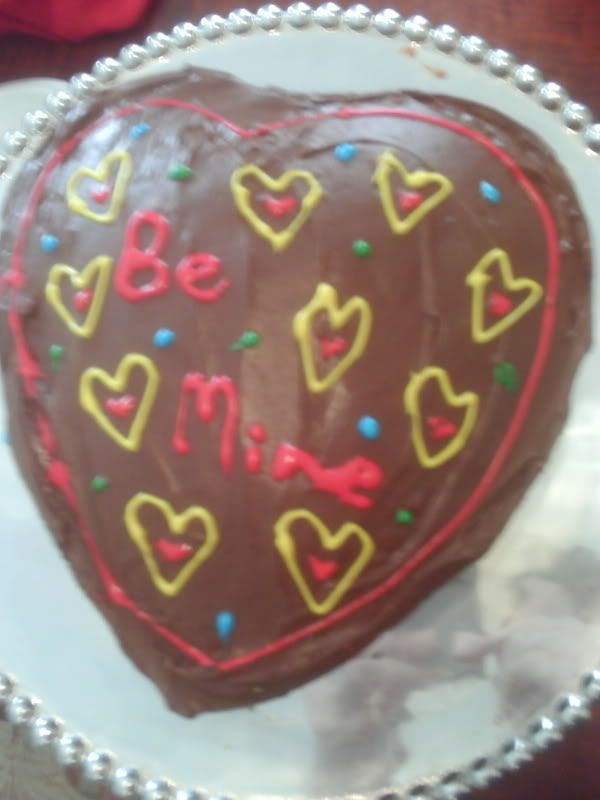


4. I'm starting my 1st Saturday group lesson in 2 weeks and I'm pumped! It will be once a month! Bekah recommended a book that gives ideas and such and I am ready! I had 100% parent response which just warms my heart! I am so excited for these children to all meet each other and gain confidence by playing with and for each other! We will play theory based games, play for eachother, with eachother, play other music games, etc. I will definitely have to report how well I am able to control 7 children from ages 5-10!

That's about all, nothing else to report! :-)

Monday, December 15, 2008

I got my snow! And it was in the most unlikely location...

I was telling Madison how sad I was that I may not see snow before Christmas - which would be the first time in my life I think that I wouldn't see snow around Christmas. I decided it wasn't going to be a big deal and I was over it, but then while I was in Brookhaven to play for the Climbers Club at the Taylors' house, it snowed! It was so beautiful. Margaret & I had a great time walking around in the snow, building a snowman, and throwing a few snowballs. This is very unusual for that area to get that much snow and for it to stick for as long as it did. I feel completely ready for Christmas now that I have seen snow!
Margaret took some great pictures, here are a few: (I edited the words & such at a fun site called picnik.com that I very much recommend)


Now on to my recipies "of the day" - even though I obviously don't put one up very often!

Homemade Hot Chocolate Mix (great for gifts, etc.!) You can put it in a jar or cellophane bag, or just in a ziplock. You can omit the small taste of spice by omitting the cinnamon & chili powder - I have made it both ways & it's yummy either way!


To print this out, just right-click and save, print it on cardstock, and you have
a rec
ipe card! :-)


Mom's Sugar Cookies & Icing

Mix:
3/4 cup shortening/part butter
1 cup sugar
2 eggs
1/2 teaspoon vanilla

Mix:
2 1/2 cup flour
1 teaspoon baking powder
3/4 teaspoon salt

Combine and refrigerate for 1 hour. Roll out 1/8". Cut with cookie cutters and place on cookie sheet.

400*F for 6-8 mins.

Icing:

4 cups confectioners' sugar
1/2 cup shortening or butter (I used smart balance butter because that's what was in the fridge and it turned out really well)
5 tablespoons milk
1 teaspoon vanilla extract
food coloring

In a large bowl, cream together the confectioners' sugar and shortening until smooth. Gradually mix in the milk and vanilla with an electric mixer until smooth and stiff, about 5 minutes. Color with food coloring if desired.

Well that's it for now!

Wednesday, December 3, 2008

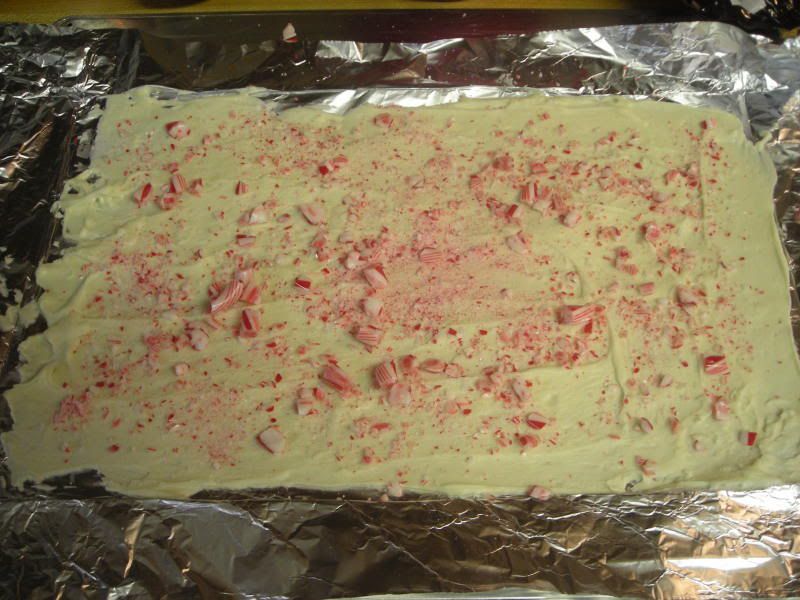
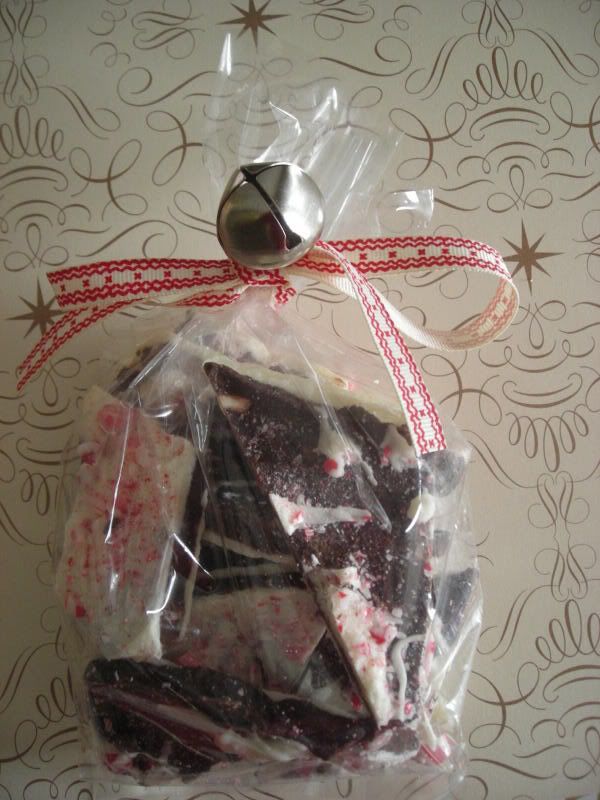
I received this amazing treat from my sister in an exam care package a few years back. Since then, I have made it for many Christmas presents/favors/hostess gifts. They are pretty, and if you get the cellophane bags from wal mart or a craft store, it's a very cheap but tasty gift. I don't make candy, and I do not have a candy thermometer. This is actually very easy and pretty hard to mess up. ingredients:
  • 17 ounces good-quality white chocolate (such as Lindt or Baker's), finely chopped (I actually just used white chocolate chips and it turned out fine)
  • 30 red-and-white-striped hard peppermint candies, coarsely crushed (about 6 ounces) or 1 box of candy canes crushed (that's what I used)
  • 7 ounces bittersweet (not unsweetened) or semisweet chocolate, chopped (I used semisweet choc. chips)
  • 6 tablespoons whipping cream or evaporated milk
  • 3/4 teaspoon peppermint extract
preparation:

I unwrap the candy and place it in two ziplock bags.


Turn large baking sh
eet bottom side up. Cover securely with foil.


Mark 12 x 9-inch rectangle on foil. I folded it under and back.


Stir white chocolate in metal bowl set over saucepan of barely simmering water


(do not allow bottom of bowl to touch water) until chocolate is melted and smooth and candy thermometer registers 110°F. (chocolate will feel warm to touch). Remove from over water. Pour 2/3 cup melted white chocolate onto rectangle on foil.


Using icing spatula, spread chocolate to fill rectangle. Sprinkle with 1/4 cup crushed peppermints. Chill until set, about 15 minutes.


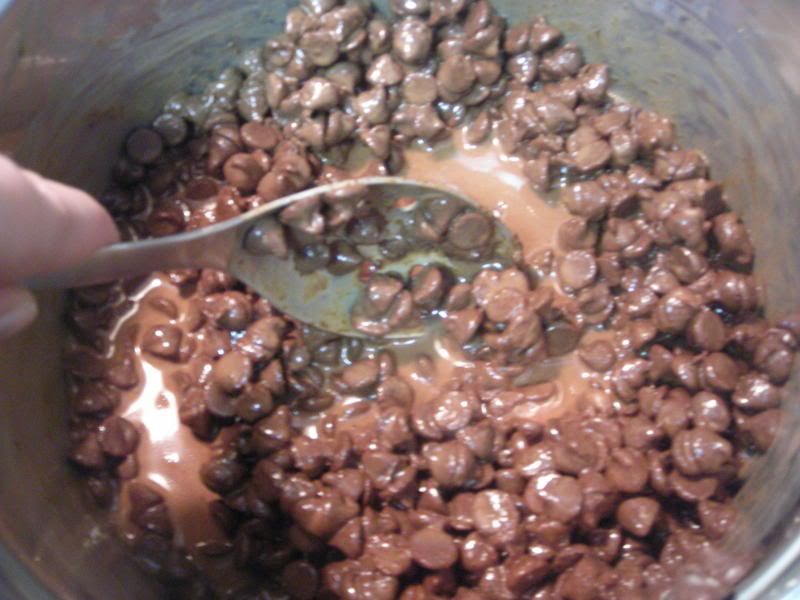
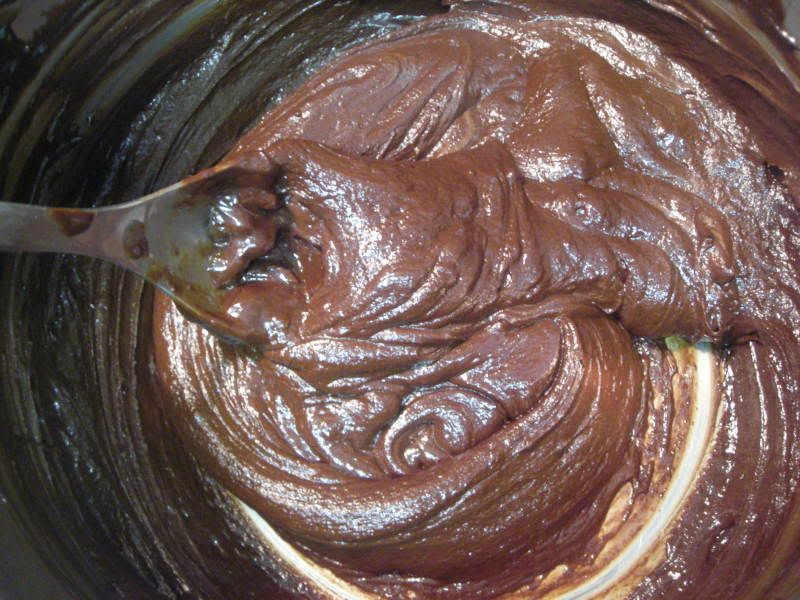
Stir bittersweet chocolate, cream and peppermint extract in heavy medium saucepan over medium-low heat until just melted and smooth.


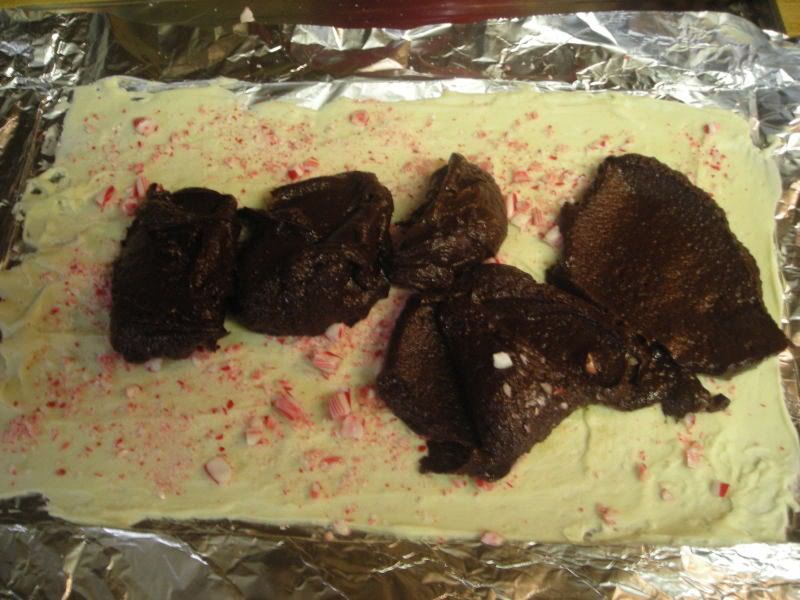
Cool to barely lukewarm, about 5 minutes. Pour bittersweet chocolate mixture in long lines (or blobs) over white chocolate rectangle.


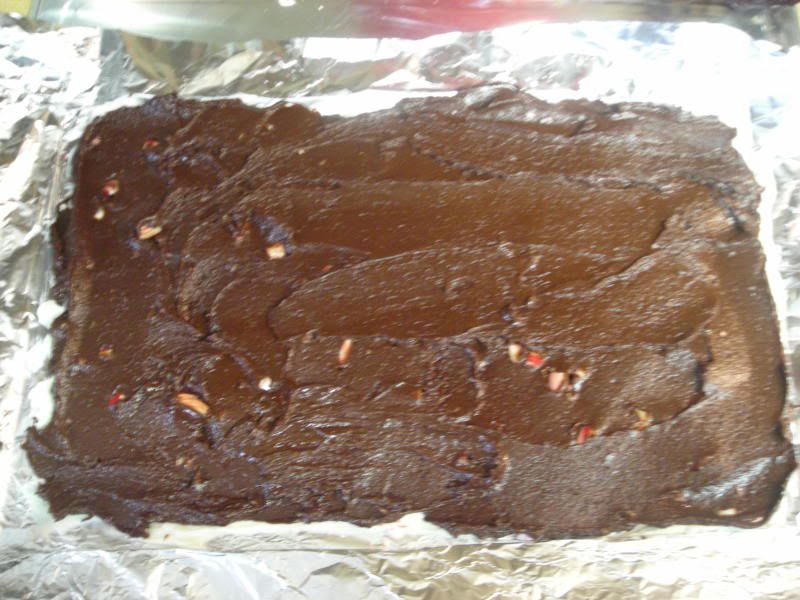
Using icing spatula, spread bittersweet chocolate in even layer.


Refrigerate until very cold and firm, about 25 minutes.


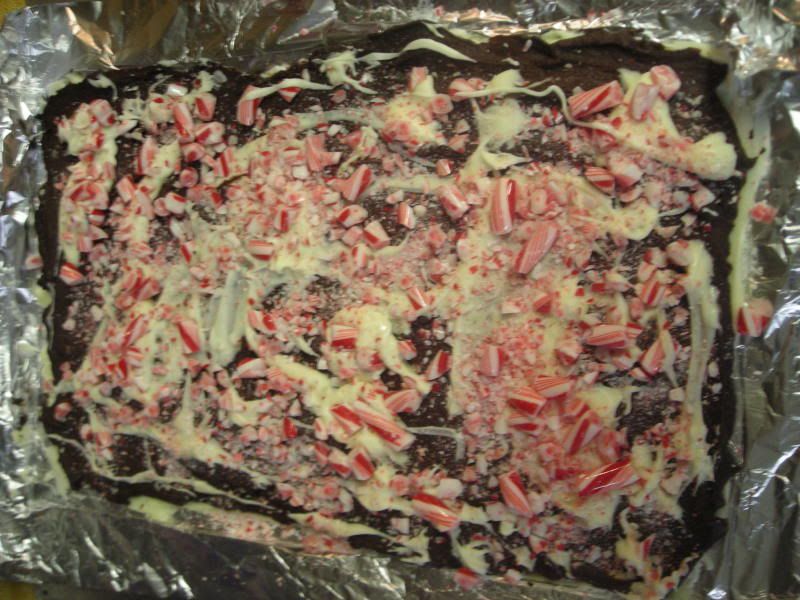
Rewarm remaining white chocolate in bowl set over barely simmering water to 110°F. Working quickly, pour white chocolate over firm bittersweet chocolate layer; spread to cover. Immediately sprinkle with remaining crushed peppermints. Chill just until firm, about 20 minutes.


Lift foil with bark onto work surface; trim edges. Cut bark crosswise into 2-inch-wide strips. Using metal spatula, slide bark off foil and onto work surface. Cut each strip crosswise into 3 sections and each section diagonally into 2 triangles. (Can be made 2 weeks ahead. Chill in airtight container.) Let stand 15 minutes at room temperature before serving.

Monday, November 10, 2008

Cooking & Baking

As a college student, I did a tiny bit of cooking. Not until I got married did I really get into it though. I love cooking & baking and trying all sorts of yummy recipes. My sister, Bekah put a really big book of collected recipes from friends & family for one of my shower presents. I use it close to every day along with Betty Crocker, Rachael Ray and other cookbooks I have, and I thought maybe I'd share some of the recipes on my blog. I decided to keep our cheaper digital camera in the kitchen and take photos of the things I make. I will still blog about what's going on with me too, but I thought since I only have a few things to write about a week, it would add more posts and be fun to do this. :)

So here it goes...

This weekend I made an apple pie. Our family is big into making pies. My mom and grandpa used to compete with each other. It's a fun tradition to keep on going. The crust is an old family recipe. The filling is from Betty Crocker...it is SO good and I highly recommend it!

Apple pie filling:

1/2 cup sugar
1/4 cup flour
1/2 teaspoon ground cinnamon
1/2 teaspoon ground nutmeg
1/8 teaspoon salt
8 cups peeled & sliced tart apples (8 medium sized apples)
2 T butter (I don't use it, but that's what the recipe calls for)

In large bowl, mix sugar, 1/4 cup flour, the cinnamon, nutmeg and 1/8 teaspoon salt. Stir in apples until well mixed. Spoon into pastry-lined pie plate. Cut butter into small pieces; sprinkle over filling.

Then follow directions on whatever pie crust you are using.
Here's pictures from the pie I made:


Graduation from Wheaton College

Graduation from Wheaton College

Us at an Ole Miss game

Us at an Ole Miss game

Our Wedding

Our Wedding

Madison's family

My family


Click below to visit my cooking blog:

Liz’s Cooking Blog

Followers